About Crown Molding Repair Services by Local Contractors
Visitors will learn about local contractors who specialize in crown molding repair services and how they can help with similar projects.
- - Crown Molding Repair Services - connects homeowners with local contractors experienced in restoring and fixing crown molding in residential properties.
- - Commercial Property Crown Molding Repairs - helps business owners find nearby specialists capable of repairing crown molding in office buildings, retail spaces, and other commercial settings.
- - Custom Crown Molding Restoration - links clients seeking expert craftsmanship for restoring or updating crown molding in historic or custom-designed interiors.
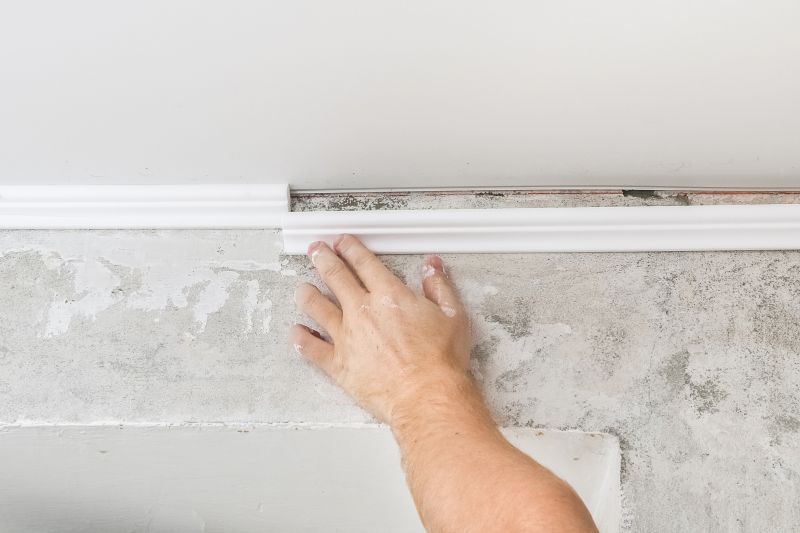
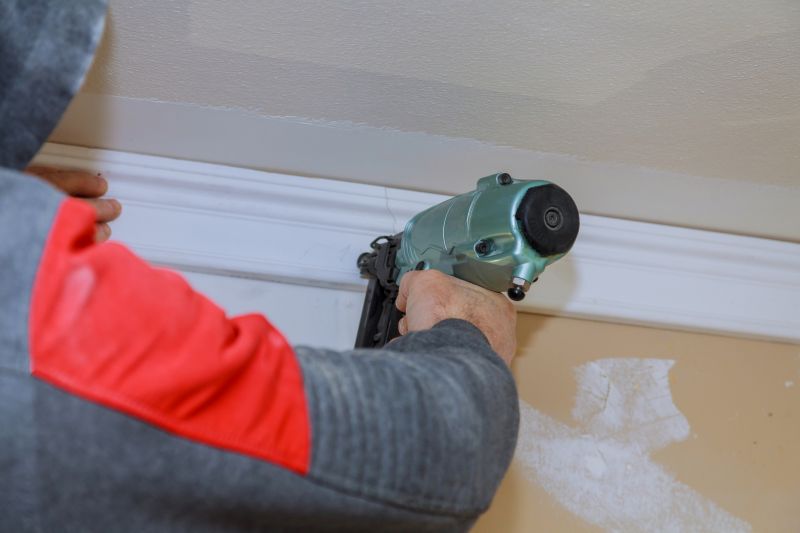
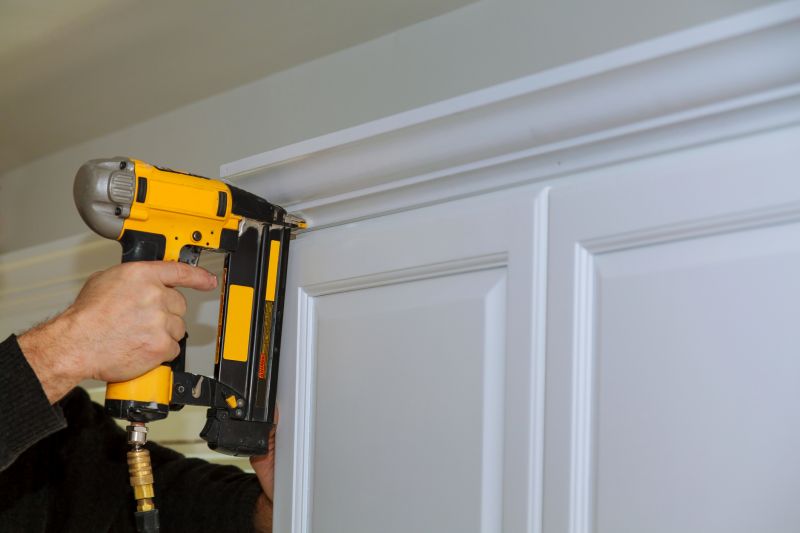
Crown molding repair is a common service sought by property owners looking to restore the elegance and detail of their interior spaces. When crown molding becomes damaged, warped, or loose, it can affect the overall aesthetic of a room. Local contractors who specialize in crown molding repair have the experience to handle a variety of issues, including fixing cracks, replacing broken sections, and reattaching molding securely to walls and ceilings. These professionals understand the different styles and materials used in crown molding, ensuring repairs blend seamlessly with existing decor.
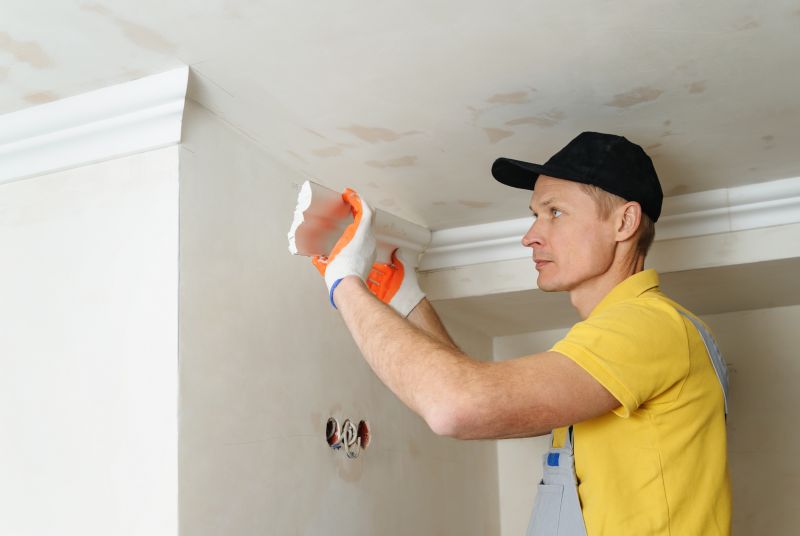
Homeowners often turn to local service providers for crown molding repair to maintain the value and appearance of their properties. Whether dealing with age-related wear or accidental damage, local pros can assess the situation and recommend appropriate solutions. They typically offer a range of repair options tailored to the specific needs of each project, providing quality craftsmanship designed to restore the original look of crown molding. Connecting with experienced local contractors can help ensure the work is completed efficiently and to the desired standards.
This guide helps visitors understand the key aspects of crown molding repair, making it easier to plan their projects. It provides tips for comparing local contractors and understanding what to expect from professional services. By highlighting important considerations, it assists in connecting with qualified service providers in the area.